
 Home
Home
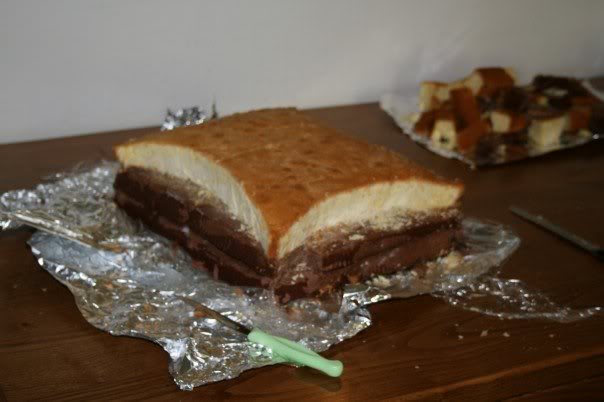 |
Start by carving the cake from frozen. I started with the top layer (cake was 3 cakes layered together) and slowly worked my way around. The cake was very hard, the carving became easier as the cake thawed.
|
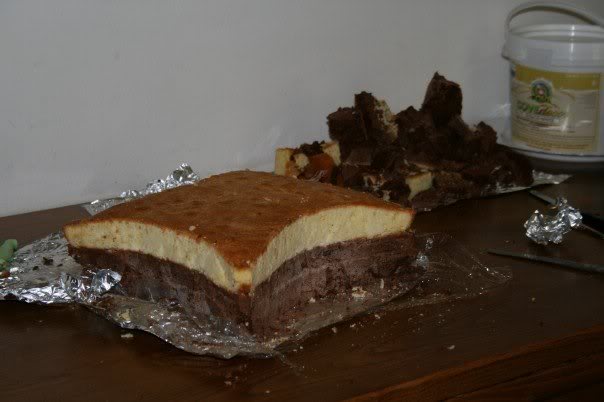 |
Now the outside shape is finished. |
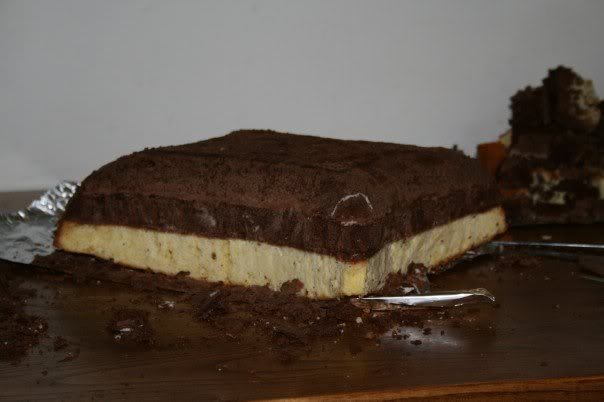 |
Shape the corners to create a 'cushion' effect. |
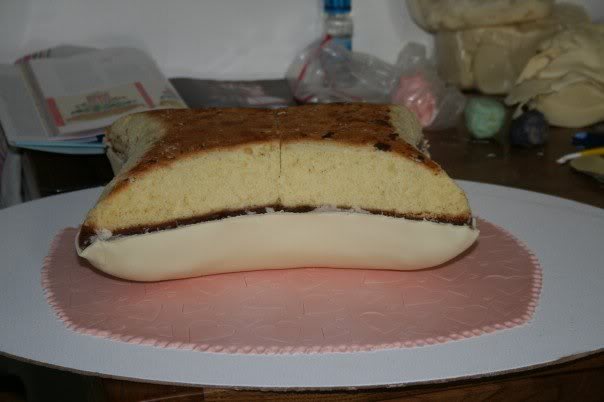 |
Cover the top half covered with fondant, trim to half the cushion and then turn over and place on a pre-decorated/covered the cake board. |
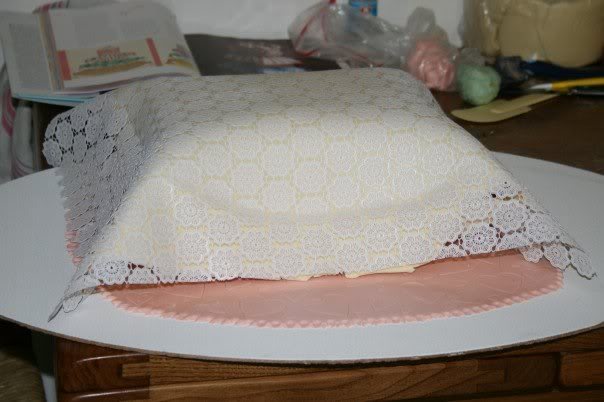 |
If you want to emboss a pattern, lay the embossing fabric on the table. Roll fondant to desired size then lay on embossing mat and roll again to emboss. You can then use the embossing mat to lift and flip your fondant onto the cake.
|
 |
Lift off embossing mat, and then cut fondant to join edges of underside. |
 |
Use a stitching wheel to mark lines measured with a ruler.
|
|
|
Apply chord trim around the middle of the cake to hide the join.
|
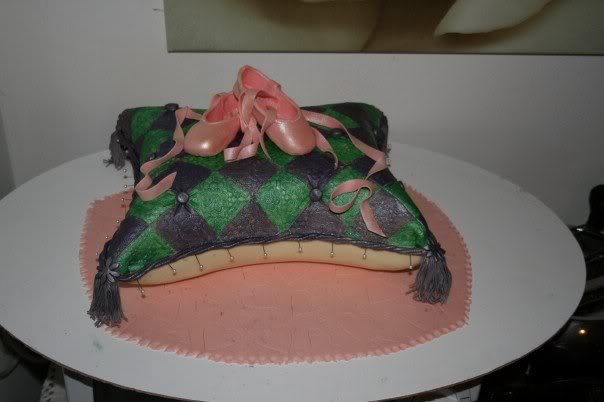 |
Paint cake as desired. |
 |
VOILA!!! Warning: Be careful, when I was painting, I flicked colour on the board by mistake.luckily I was able to make cutouts to hide this splatter!!
|


|
|
|